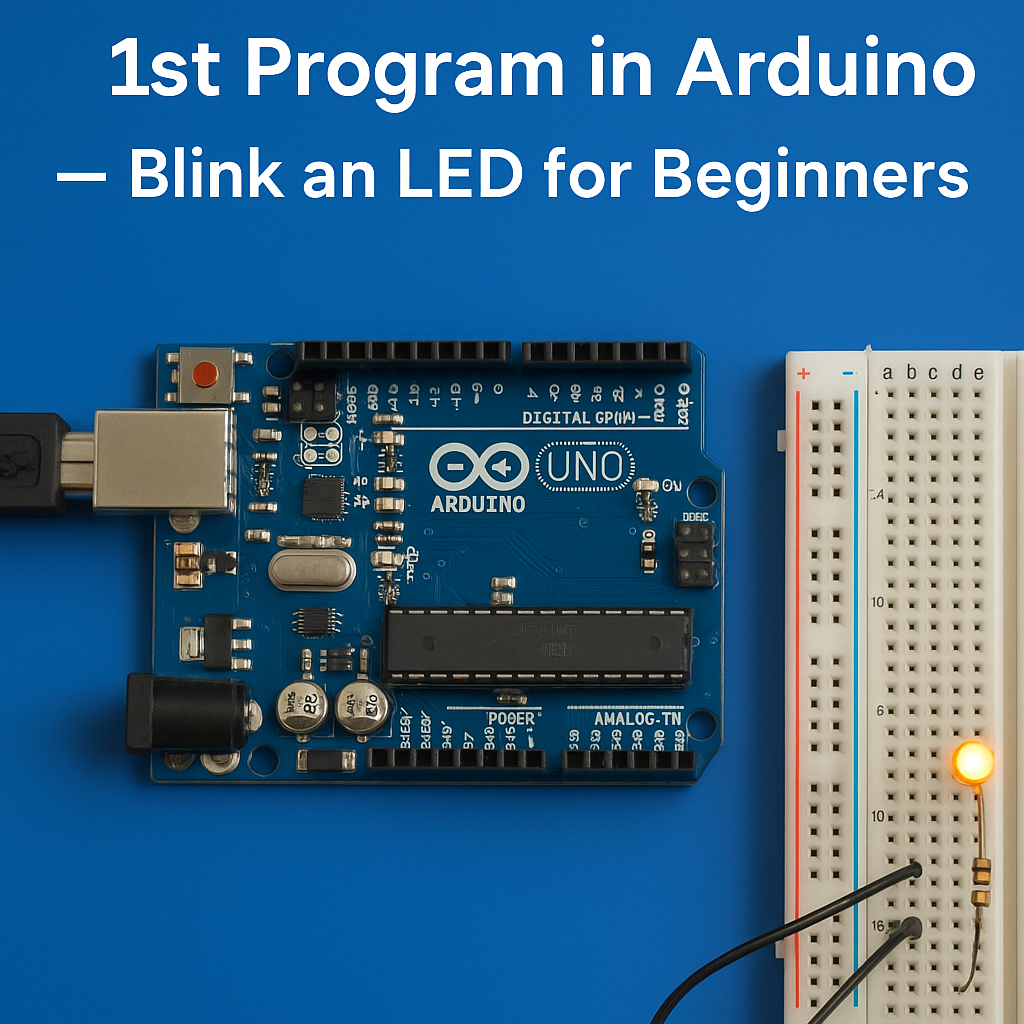
Tutorial 2: LED Basics – How Light Emitting Diodes Work with Arduino
Welcome back to CraftedTech Engineering’s Arduino tutorial series!
In this lesson, we’ll teach you how to properly wire and control a single LED with your Arduino. Understanding how LEDs work is a must for any beginner looking to master electronics and microcontrollers.
What You’ll Need
- 1 Arduino Board (e.g., Arduino UNO)
- 1 LED (any color)
- 1 220Ω Resistor
- Breadboard
- Jumper wires
- USB Cable for Arduino
BUY ARDUINO COMPLETE KIT!!
What Is an LED and How Does It Work?
An LED (Light Emitting Diode) is a component that lights up when current flows through it — but only in one direction. It has two legs:
- Anode (long leg) = Positive side
- Cathode (short leg) = Negative side
To prevent damage, a resistor is used to limit the current going to the LED.
Step-by-Step Instructions
Step 1: Wire the Circuit
- Insert the LED into the breadboard
- Connect the anode (long leg) to digital pin 9 on the Arduino using a jumper wire
- Connect the cathode (short leg) to one end of a 220Ω resistor
- Connect the other end of the resistor to GND on the Arduino
Step 2: Upload This Code
void setup() {
// Set pin 9 as output
pinMode(9, OUTPUT);
}
void loop() {
digitalWrite(ledPin, HIGH); // Turn LED on
delay(1000); // Wait 1 second
digitalWrite(ledPin, LOW); // Turn LED off
delay(1000); // Wait 1 second
Code Breakdown
-
pinMode(ledPin, OUTPUT);: Configures pin 9 to send signals -
digitalWrite(ledPin, HIGH);: Sends voltage to light up the LED -
digitalWrite(ledPin, LOW);: Stops voltage and turns off the LED -
delay(1000);: Pauses the program for 1 second
Try This!
- Change
delay(1000)todelay(200)for faster blinking - Try other pins like pin 7 or 8, just update
ledPinin the code - Use a different resistor value (e.g., 330Ω or 470Ω) and observe brightness changes
Troubleshooting Tips
- LED not lighting up? Double-check the LED orientation (long leg = pin)
- Still no luck? Try another LED — it may be burnt out
- Resistor issue? Using too high a value may make the LED too dim
- Try changing ports and re-uploading the sketch if nothing happens
What You Learned in This Tutorial
✔️ How to wire a single LED to your Arduino
✔️ How to use a resistor to protect components
✔️ How to write code to blink the LED
✔️ How to apply digitalWrite() and delay() functions
📣 Stay connected with CraftedTech Engineering for more electronics experiments and real-world projects!
🔗 Website: craftedtechengineering.com
📘 Facebook: @CraftedTechEngineering
📺 YouTube: @CraftedTechEngineering
Need help building your PCB Message us on Facebook!
📩 INQUIRE with us on Messenger
